Sunday, July 31, 2011

The Amazing Race to Reface - Week 5

We made a lot of progress this week!  Floors went down and moldings went up.  The backyard was prepared for concrete to be poured.  The kitchen has been refaced and bathroom floors have been grouted.  More slabs of marble have been brought to the shop to be fabricated into beautiful kitchen countertops. Take a look and see what we have been up to!

In order for the backyard to be paved and landscaped, we had to dig trenches on the outside borders and install a drainage system to prevent water buid-up in the backyard.  We plan to hardscape a good portion of the yard as it will be easier to maintan and keep clean.  Before we pour any concrete we must lay down iron rebar.  Rebar increases stregnth in tension and reinforces the concrete.  If the earth shifts and concrete begins to crack, the iron rebar holds these pieces together.


Since we decided to keep the existing cabinets in the kitchen, we had to reface the entire thing.  Melamine was measured and cut to the exact dimensions of the existing structure and carefully glued on.  We also also added new melamine drawers with full extension drawer slides.  In the downstairs hall, leading to the garage we refaced the linen closet outside the guest/powder bath.  The upstairs laundry room also had cabinets that needed refacing.  Check out all the cosmetic surgery we performed this week!!!!


Downstairs we layed hardwood floors.  We went with a 5" wood plank in a rich mocha color.  Since this is a relatively new home ( built in 1994) we thought it was important to add design elements that were going to give this home character.  For that reason, we chose a hand scraped wood with a slight beveled edge to give it some dimension and warmth.  Belmont Flooring in Anahiem provides a great selection of hardwood flooring/carpet as well as excellent customer service.


Crown molding is an upgrade that is becoming more and more popular.  It is an easy way to dramatically enhance the look of your home and it is a sure way to increase the property value.  We added crown molding throughout the house.  We wanted something simple yet bold enough to make a difference so we went with a 6" low profile crown molding.  In addition we replced the old baseboard with one that was slightly taller and more decoartive.


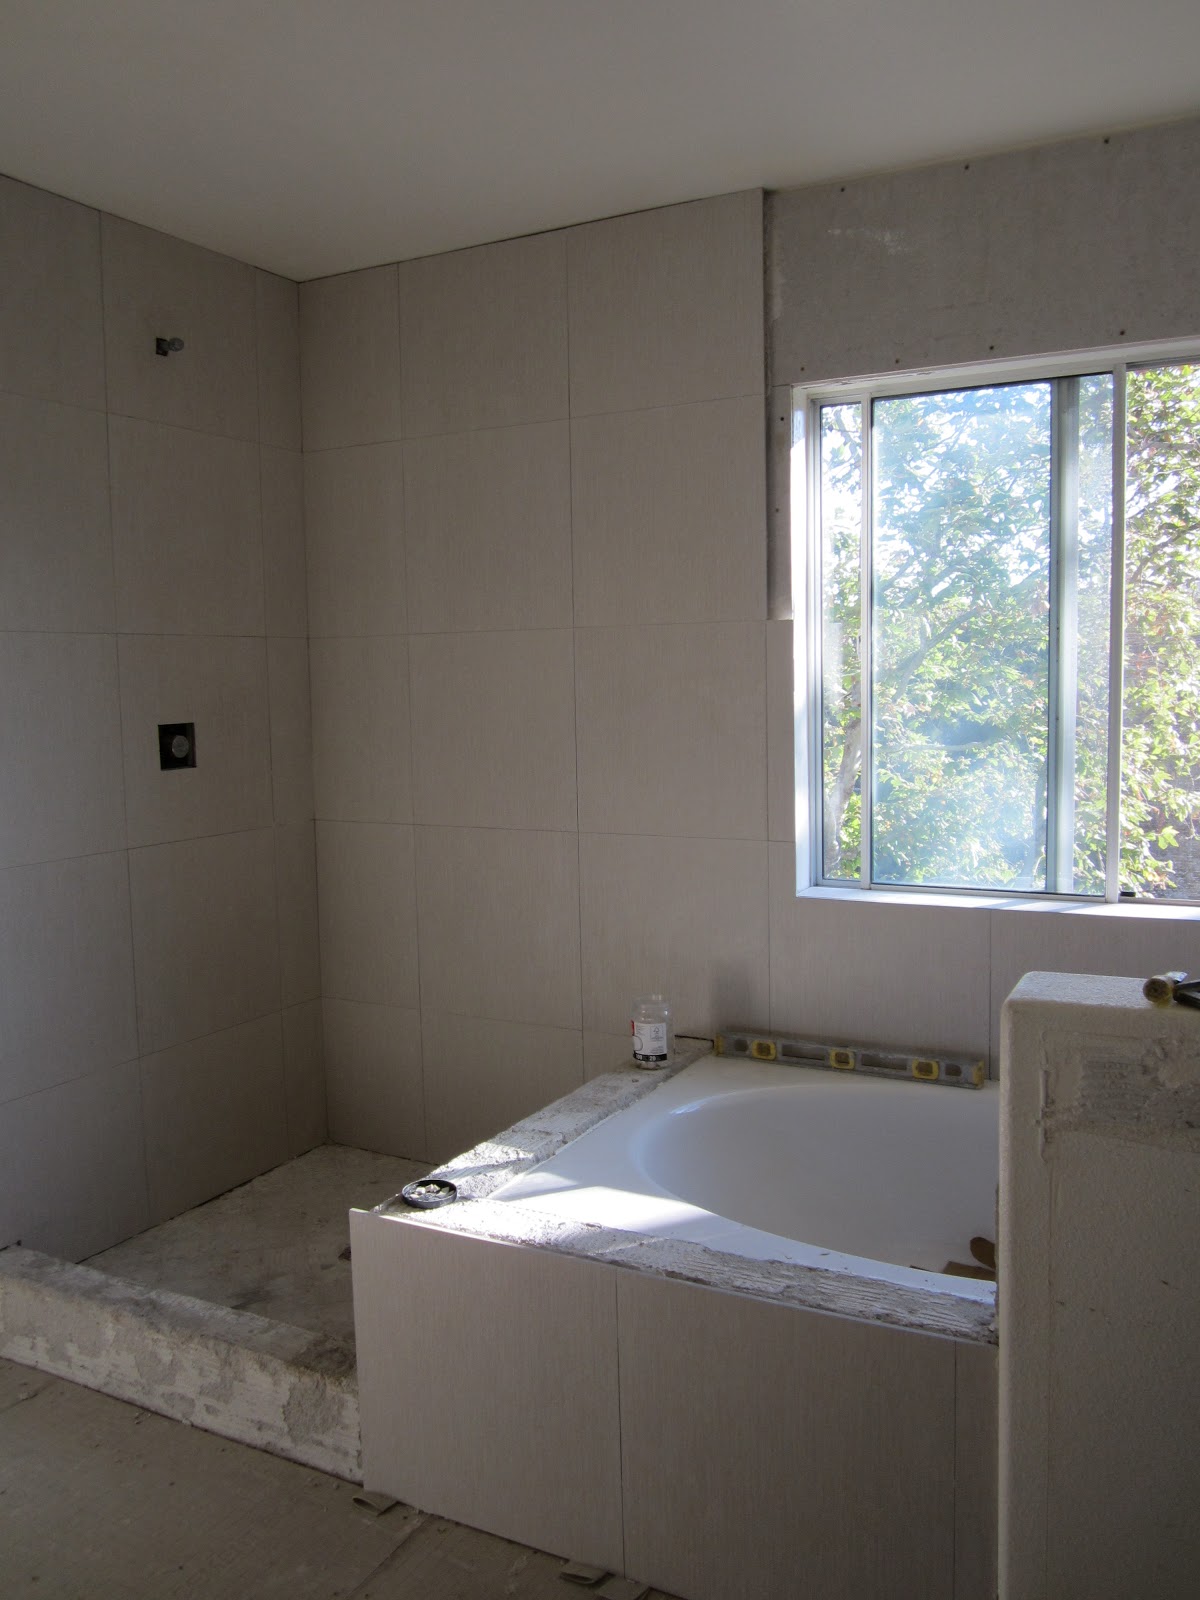
Upstairs we finished grouting the kids bath and laundry room.  We used Polyblend Sable Brown to compliment the color of the porcelain tile.  Even though it is a secondary bath, we want every room to read clean, classic and elegant.  These floors do just that.


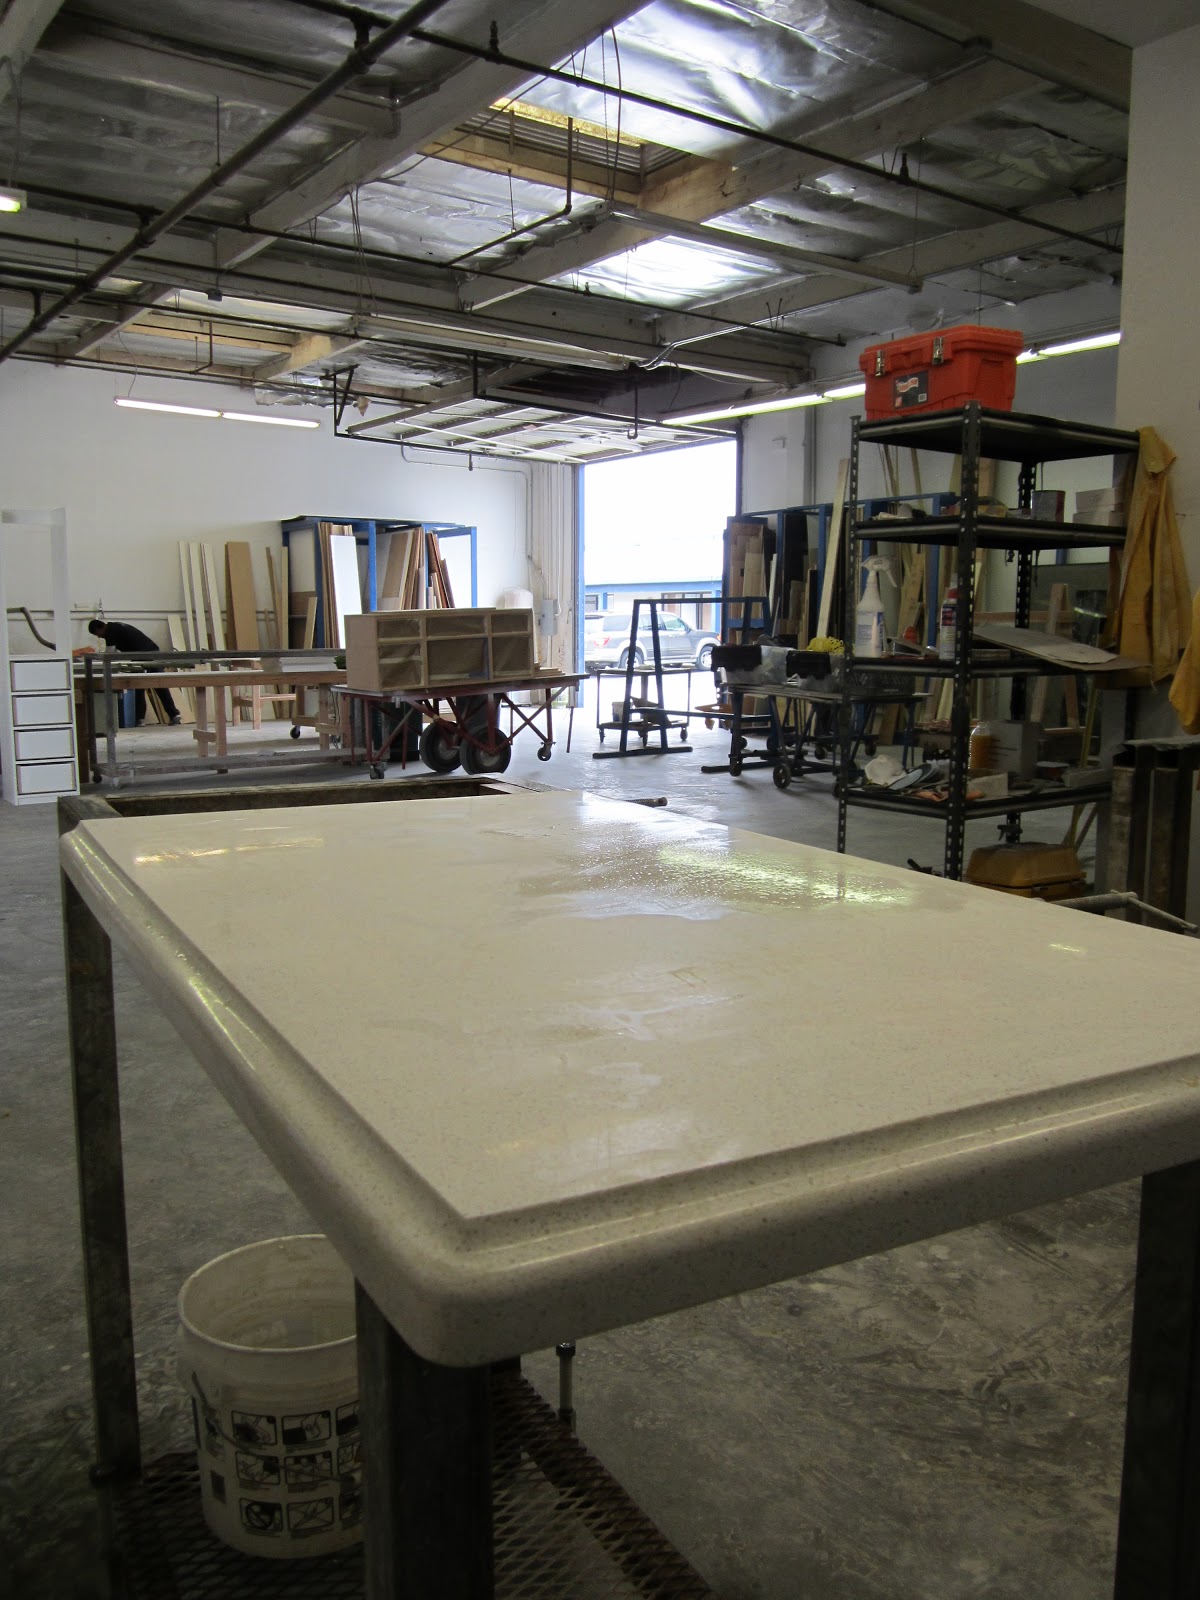
We had plenty of work cut out for us in the shop as well.  There are still slabs of marble being delivered to the shop that need to be fabricated.  The slabs are picked up from our supplier (Marmol Export) in Anahiem and delivered to the shop.  Marmol consistently provides great customer service, knowledgeable associates and quality products.  We unload the stone but before we start cutting, measurements are taken and templates must be made.


This was a productive week for us.  We are making major progress and continue to be on schedule with our completion date.  Big things to come next week so KEEP FOLLOWING and PLEASE PASS IT ON!  If anyone is interested in buying this home, contact Gary at hpdcontractors@gmail.com.

Sunday, July 24, 2011

"Hiho, hiho, it's off to work we go" - Week 4

This week we got lots accomplished in both the house and the shop.  After the tiles were spaced we were able to grout the bathroom walls.  The bathroom floors have been set but not grouted.  Tiling the floor last,  allows us to get the all the walls complete.  Since we are working under the gun and the walls involve more tiling and cutting,  we did all the walls first.  The floor will need at least a day to dry and will hold up the installation otherwise.  In addition, we never want to work on a newly installed floor if we can help it.

After the walls were grouted in the master bath, even WE were in awe of how amazing it turned out!  This photo doesn't capture how sleek it looks but the textured lines in the tile and tight grout joints gives the appearance of one giant slab of material in the shower and looks pretty outstanding.  To give a custom finish to this bathroom, we tiled in and around the window sill.  It looks great and will be easier to keep clean over time.


Above: grouted tile in master bath


In the kids bath we took the 3X6" (subway) tile up to the cieling to add height and give a more grand appearance.  The recessed niche in the wall is another custom feature we added.


On the upper level we tiled the laundry room floor and kids bath floor.  We chose a 12X24" porclain tile in a rich brown color, made to mimic hardwoods.  If you like hardwood floors, this is an excellent alternative to use in the bathroom where the floors will be exposed to moisture.  The grout and the textured tile will eliminate any concern for slipping. 


This week we were also able to texture the walls and ceiling.  We used a texture gun which is driven by an air compresser to evenly patch walls where holes had to be cut.  We also sprayed the new ceilings and walls we created upstairs. The texture gun creates that orange peel look that many of you are familiar with and may have in your homes.


Above: livingroom and diningroom being sprayed with texture gun covering holes from recessed light installation.

At this point in the game, our time is split between our shop and the flip house.  We carefully delagate who does what so that we can work at maximum capacity and get this house on the market on time.  We are currently running right on schedule but there is still a lot of work ahead of us and we continue to work on several jobs simultaneously.

Our shop in Santa Ana is set up to effeciently to run our granite business as well as our custom cabinetry.  We are hard at work fabricating the counter tops vanities and closet organziers,  getting them ready for installation.  

Stone fabrication is both difficult and laborious and requires a skilled worker with a lot of experience.  We fabricate countertops from granite, marble and travertine to Silestone and Cesarstone.  In this house we chose marble for the master bath and kitchen counters.  We want to create a timeless and elegant environment and what says "timeless"more than marble.  Marble has been used for ages and is a strong and durable suface.  Look around at some of the finest hotels and resturants and you will see how many commercial installations use marble for both floors and countetops.  To give a more casual appearance to the kids bath, we used Silestone.  This is another durable suface, however it is a man-made composite.  We love Silestone because of the color selection and consistency and thought it would look great in this bathroom.


Above: coutertop for kids bath is in the process of being made


Above: coutertop for kids bath almost finished

What house would be complete without closet organziers in EVERY bedroom?  All walk-in closets will include a set of drawers, shelving and double hanging space.  3 of the 5 bedrooms include walk-in closets.


Above: cutting wood for closet organizers and getting it ready for assembly

TADA!!!!  The closet organizers well on their way to being finished!!!  


We have a big week ahead of us so it's time to wrap things up for now and enjoy a cold beer at home!  We'll be back to blog next Sunday!

Sunday, July 17, 2011

"Every Day is Work Work Work"-Bob Marley - Week 3

There is a lot of prep work involved in a remodel which is why they sometimes feel long and tedious.  Adding recessed lighting and new plumbing fixtures in this house will not only look and feel great but will add value to the home as well.   Each of these projects involve opening walls, to manuever any existing electrical and plumbing lines.  Before any texturing, painting or tiling can take place these walls need to be closed up and sanded down.

ABOVE: upstairs kid's bathroom, tub and toilette have been removed and walls have been opened for new plumbing and fixtures.

In areas that will be exposed to moisture, such as the bathrooms, it's important that backerboard be installed.  We used Hardie backerboard in these bathrooms as it offers superior protection against moisture and mold growth.  In addition this lightweight cement material makes for a much smoother tile installation...which is our next step.


ABOVE: Hardie backerboard is used to close up the walls.  A recessed niche was created so that children can easily access their shampoo and washable Crayola crayons for bathtime!


ABOVE: The tiling has begun in the kid's bath and it is finally starting to take shape again.  Before we grout it, spacers are put in to help the tile set evenly.

In addition to the kid's bath, we have closed the walls back up in the master bath and begun tiling there as well.  We chose a neutral tile for the master to add warmth and versatility.  This 20X20" porclain tile has textured stripes which add depth and interest to the bathroom.  This master is a nice size however, using a large tile will make this bathroom appear even bigger.


ABOVE:  Shower walls and front of tub are tiled

In addition to closing up these bathroom walls, we closed in bedroom #5 and the loft upstairs.  The hallway which used to be a catwalk is hardly recognizable!


ABOVE:  Upstairs hallway - left side; loft floor  right side; bedroom wall


ABOVE: loft floor is down but railings have not been installed yet.

Downstairs in the 4th bedroom/office we are adding a closet in what used to be an awkward recessed area.  In order to do this, we had to frame in a wall.  Now we are able to install sliding closet doors.


Since we are on a tight schedule, we have to use our time wisely.  While tile is setting and walls are drying we head back to our factory in Santa Ana where we are building all the custom cabinetry.  We have begun building the vanities for the master bath and the kids bath.


ABOVE and BELOW  The double vanity for the master bath includes  his/her pullout shelves in the center and plenty of storage beneath each sink.


ABOVE: kid's bath vanity.

Last week was a busy one for HPD.  We have been working on several jobs simultaneouly.   We are under the gun to get this dull and dated home completed and back on the market by mid-August!  Stay with us to see if we make our deadline!

Friday, July 8, 2011

Demolition Time! Week 2

Our mission this week was to demo the entire house, inside and out!  We had our challenges cut out for us. We hauled away five trees and removed way too many overgrown plants in the back and side yards! As you can see from the photos, the yards consisted of mostly dirt and dead plants.  When the yard is completed it will be asthetically pleasing and fully functional as well!


KITCHEN-  While we are leaving the existing cabinet configuration in the kitchen, we are refacing the original cabinets and installing custom marble countertops.  In addition we will build a large center island.   The appliances will be replaced with stainless steel.  Our goal is to create a kitchen that's both timeless and elegant.  


FLOORING-  The original floors in this house consisted of lanolium in the kitchen, parquet in the livingroom/dining room and carpet on the stairs, hallway and bedrooms, all of which needed to come up!  We will be replacing the entire downstairs with wood flooring to create a larger space and keep it clean and consistent.  There are a great variety of hardwood flooring options available that are both kid and pet friendly.


DOWNSTAIRS BATH: While we are still downstairs, we demo'd the guest bath and will be replacing the the flooring, tub surround and plumbing fixtures.  We will build a custom vanity and replace the toilet. 


FRAMING IN BEDROOM # 5 AND THE LOFT - As we move upstairs we have decided to close in the catwalk and add square footage.  We are creating a fifth bedroom complete with a walk-in closet and across the hall we're adding a loft!  We are finding that many of the smaller homes today built for families, lack a separate space for children to call their own.  This loft can function as a playroom/living room for the kids.  You will never have to worry about triping over a toy again!


ABOVE: On the right side of the hallway the floor is being framed for the loft.  Notice the chandelier which is hanging in what used to be the high diningroom ceiling.


ABOVE:  On left side of hallway we framed out the fifth bedroom.

ABOVE: A walk-in closet was created in the fifth bedroom.


MASTER BATH-  The master bathroom is getting a complete makeover!  We will be replacing the double vanity with a custom built in and are updating all the flooring and wall tile to give it a custom feel.  Sticking to nuetral colors throughout the home will keep it light, airy and versatile.


ABOVE: Master bathroom stripped down!

GUEST BATH-  The second bath upstairs will undergo the same process.  However, since the tub will have to be replaced we got rid of the all-in-one standard fiber glass enclosure.  To keep with the cottage theme we will be using the same tile upstairs that we are using in the kitchen.  It will help create consistency throughout the home as well.


So this week you saw what we took out.  Check back next week to see what we put in!  And remember to FOLLOW MY FLIP each week to see the transformation from beat to neat!